The Object menu can be selected in both Model file mode and Plot file mode. It is identical in both modes. The following menu items are available:
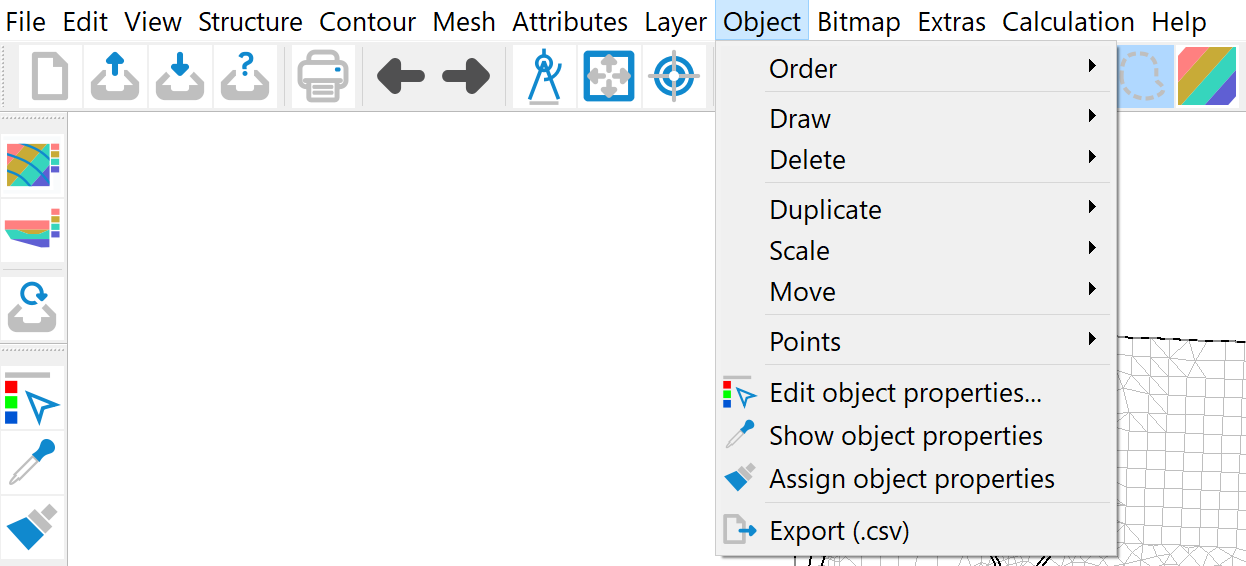
Order
The following submenu appears:
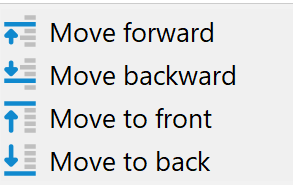
The four menu items allow you to change the position of individual objects in the sequence within their map layer.
It is not possible to change the position beyond map layer boundaries. However, if this is absolutely necessary, this can be achieved by reducing all map layers of the map to one map layer.
The Move forward or Move backwards menu items change the display sequence so that the selected object is moved one position forwards or one position backwards in the display sequence of all objects in the map layer.
The Move to front menu item places the desired object at the front of the map layer, i.e. it is displayed last within the map layer and therefore overlays all other objects in the map layer.
The Move to back menu item moves the selected object to the back of the map layer, i.e. it is displayed first within the map layer and is therefore overlayed by all other objects in the map layer.
Draw
The following submenu appears:
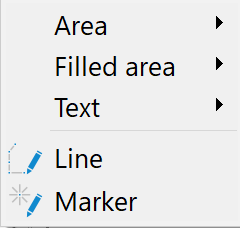
Area, Filled area
You can choose between these forms:
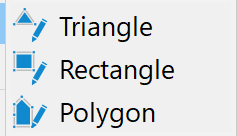
The Area menu item only draws the outline of the area, while the Filled area menu item fills the drawn area with colour.
Text
The following selection is possible:
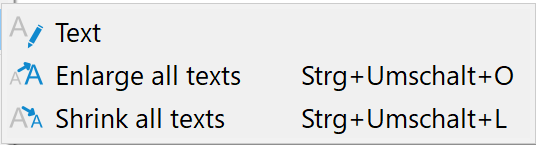
New text is added when the Text menu item is selected. To do this, a position must first be defined by clicking with the left mouse button. A dialogue window then opens in which the desired text can be entered.
If you select the Enlarge all texts menu item, the existing texts are automatically scaled up.
If you select the Shrink all texts menu item, the existing texts are automatically scaled down.
If only individual texts (or objects) are to be enlarged or shrunk, this can be done using the Object properties toolbar. This must be selected in advance via the View  Toolbars Draw menu item.
To show the object properties, click on the "Show object properties" button (
 ) and select an object (left mouse button) to display the properties (colour, height, etc.) of the selected object in the toolbar. You can then, for example, enter a different height H for the text. In order for the height to change when the object properties are subsequently assigned, the checkbox in front of the H must be activated. The object properties are assigned by clicking on the paintbrush button (
 ) in the toolbar and then selecting the text to be changed with the left mouse button. This procedure is possible for all objects.
Line


The Line menu item allows you to draw a line with any number of vertices that are connected to each other by straight lines. After selecting the menu item, the cursor is positioned on the starting point of the line by clicking the left mouse button. The cursor now moves to the second point of the line, which is again defined by clicking the left mouse button. This process is now repeated until all straight line segments of the polyline have been entered. Pressing the right mouse button ends the function without defining a new point.
The application remains in the Draw line mode until the function is cancelled with the right mouse button or another function is activated.
Marker


The Markers menu item is used to place symbols at the selected position on the graphic with a click of the left mouse button. There are 35 marker types available. Markers are created until the right mouse button is pressed or another function is activated. The symbols and size are selected via the View → Toolbars → Draw toolbar. The marker symbol and size must be assigned beforehand.
Delete
This menu item can be used to delete objects individually or in a polygon by selecting them with the left mouse button. The selection of objects (individual or area) is ended with the right mouse button.
The deletion process can be undone using the Undo (
 ) function or repeated again using the Redo (
 ) function.
Duplicate
This menu item can be used to duplicate/copy objects individually or in a polygon. To do this, select the desired object or polygon with the left mouse button and confirm with the right mouse button. A selection window appears in which you can specify the map layer to which the selected object is to be copied:
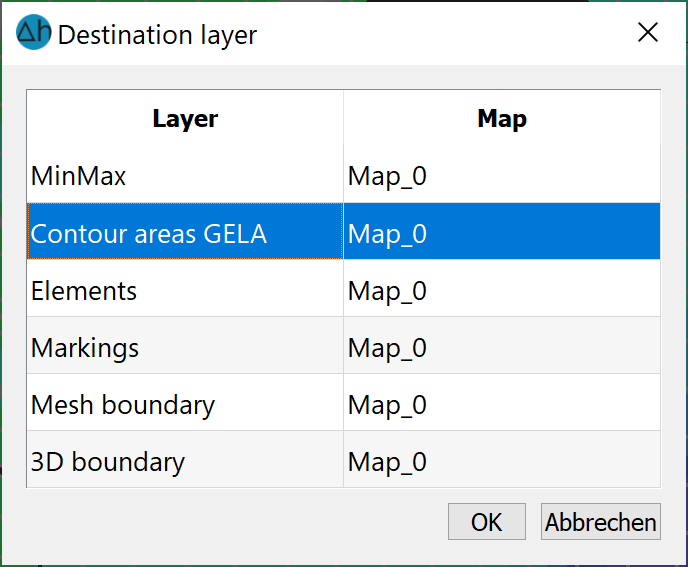
After activating the selected map layer in the project manager, the duplicated object can then be positioned using the Object Move menu item.
Scale
This menu item can be used to scale objects individually or in a polygon. After selecting one or more objects with the left mouse button and confirming the selection with the right mouse button, the following input window appears:
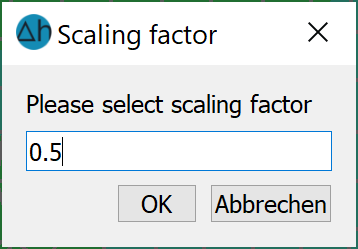
A scaling factor > 1.0 enlarges the objects, a factor between 0 and 1.0 reduces the object size.
Move
This menu item can be used to move objects individually or in a polygon The desired object or polygon is selected with the left mouse button and dragged to the desired position while holding down the mouse button. When selecting via a polygon, note which map layer is active.
Points
This menu item is used to edit line or polygon objects. The following submenu appears:
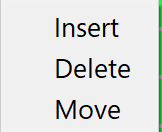
The Insert menu item can be used to insert intermediate points into existing line or polygon objects. The object is selected with the left mouse button and the points are marked at the desired locations with the left mouse button.
The Delete menu item removes the desired points from an existing object. To do this, first select an object with the left mouse button. Further clicks with the left mouse button on the desired points to be removed will delete them from the object.
The Move menu item can be used to change the position of individual points of a line or polygon object. To do this, first select an object with the left mouse button. The point to be moved can be moved by holding down the left mouse button. By releasing the mouse button, the point remains at the desired position.
The right mouse button cancels the function for the selected object. Another object can be edited by selecting it again with the left mouse button. To exit the individual functions, either call up another function or press the right mouse button again.
Object properties: edit…, show, assign
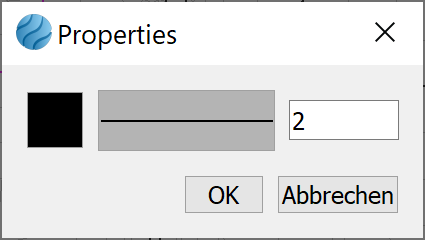
This menu item is used to edit object properties. After activating the menu item Edit Object Properties..., an object is first selected with the left mouse button. An input window appears in which the properties of the object (e.g. color, line width, height) can be changed directly:
When using the Show or Assign Object Properties, the desired object is first selected. Then its properties are either displayed in the "Draw" toolbar or the parameters set there are assigned to the object
Export *.csv
After selecting an object with the left mouse button, the file selection window appears in which the name of the *.csv file can be specified. The coordinates of the object are saved in the file as follows:
Point object (e.g. marker on a well): The coordinates of the centre point are saved.
Line object: The coordinates of the individual line sections are saved.
Surface objects: The coordinates of the corner points are saved.
Another object can be exported by making a further selection with the left mouse button. To exit the Export function, either call up another function or press the right mouse button.
Stand: 22.05.2026 | 