When implementing the example, the three-dimensional sub-area is determined via Mesh  3D 3D Boundary Add. All boundary nodes of the sub-area must be selected by clicking them.
After confirming the boundary with the right mouse button, a new layer division must be made (as described in the chapter "3D expansion via number of layers and division (3DSH)"). The following input was selected: 1, 3, 2. This results in 3 layers with a respective thickness of 1/6, 1/2, 1/3.
The newly defined 3D border is displayed via View 3D border. Via Layer Change colour, the 3D border can be given a different colour (green) so that the 3D border is highlighted more clearly. The following image is displayed:
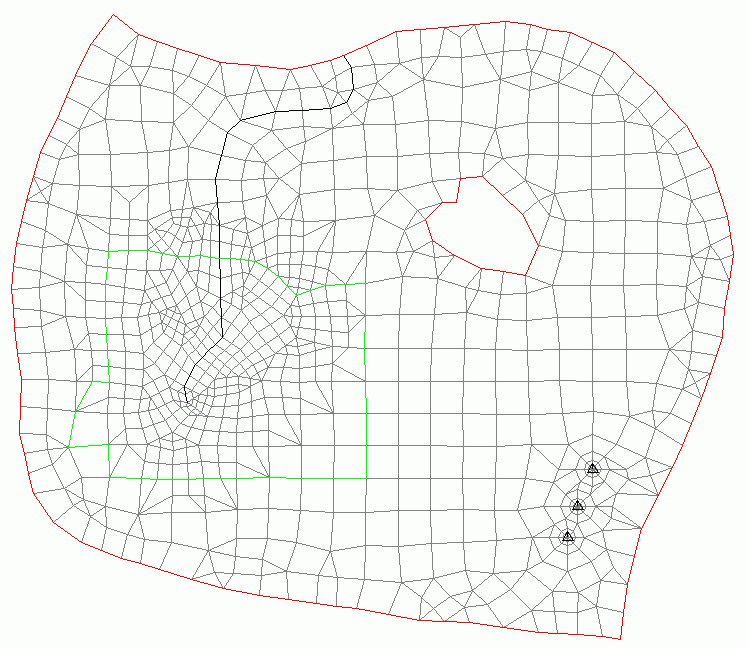
Visualisation of the 3D edge in SPRING
The new elements must then be assigned at least the K-values for a flow calculation.
A plot of the new model can already be created after using the Model checking... menu item.
The following image of the 3D partial model is obtained:
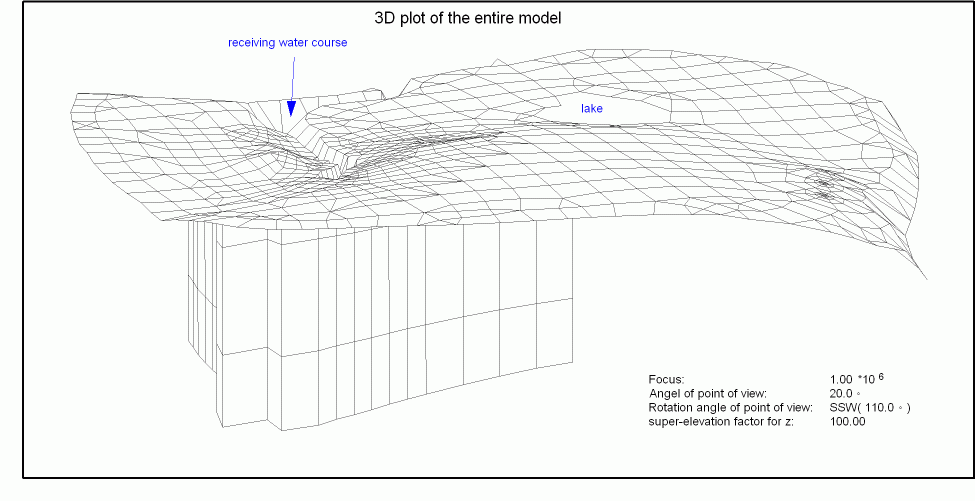
Mesh plot with 3D sub-area
Stand: 22.01.2025 | 