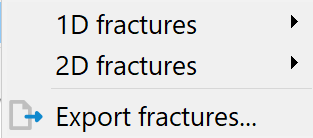
If fracture contours are available (chapter "Creating fracture contours"), the following functions are available for selection in the submenu:
 |
 |
|
1D fractures |
2D fractures |
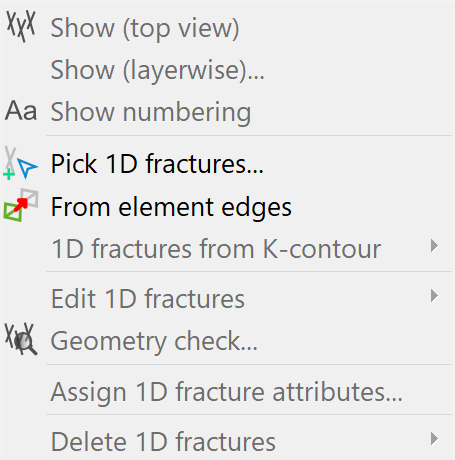
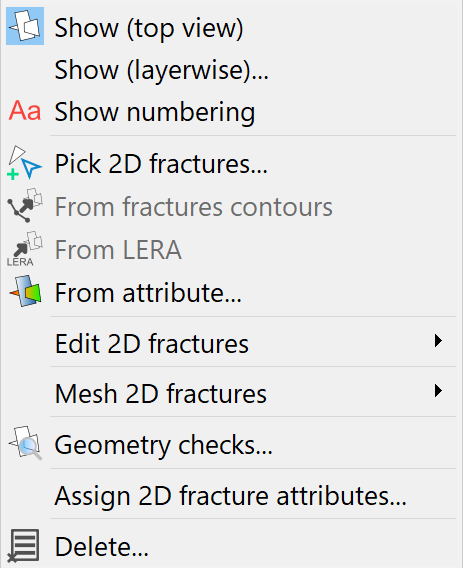
Show 1D, 2D fractures
If available, the fractures can be visualised:
Top view of a 2D fracture (direction of dip 280°)
Pick or Edit 1D, 2D fractures
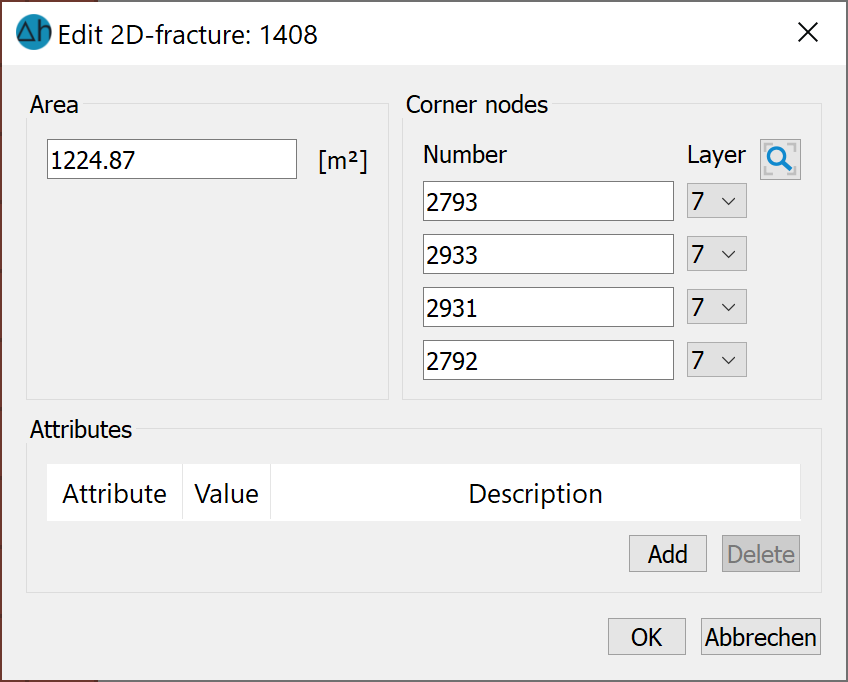
After using Pick…or Edit…1D, 2D fracture… the following input window appears in which the attributes of the fracture can be edited:
From element edges (only 1D fractures)
The following input dialogue appears:
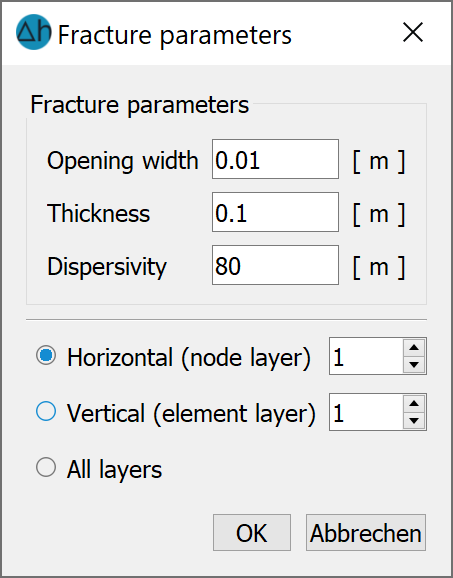
After selecting a layer or all layers, fractures are created along the horizontal or vertical element edges. The fracture parameters can be defined in this window.
Create 1D or 2D fractures from K-contour
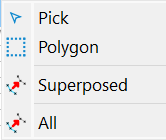
The previously created K-contours are only transferred to the model as fractures when these menu items are selected. This can be recognised by the corresponding entry in the project information window (1D fractures: ... or 2D fractures: ...). In the case of 1D fractures, the fractures can be selected by pick (the contours must be displayed for this), in a polygon or All. The 2D crevices are selected manually (display contours first).
The fractures in three dimensions can be displayed via View  More windows 3D view.
2D fracture with 85° angle of dip
From LERA (only 2D fractures)
This menu item contains the "Lera2Kluft" function, which was previously only available as a Python script. The menu item is only active if the LERA data type is present in the model. The function is described in detail in chapter: "Building a 3D model".
From attribute (only 2D fractures)
The following dialogue appears:
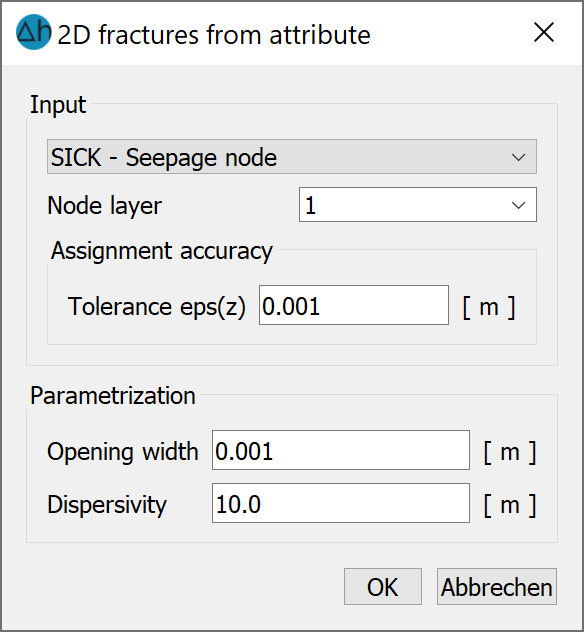
2D fractures can also be created using existing attributes. The following illustration shows a meshed set of fractures:
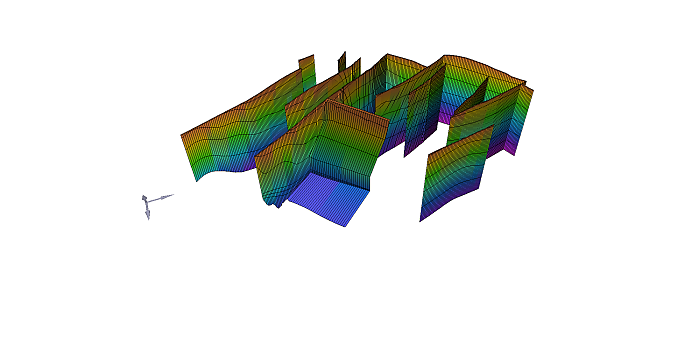
Example of an interconnected fracture set consisting of vertical and inclined fractures
Mesh 2D fractures (only 2D fractures)
After selecting the desired structures by Pick, Polygon, or List , they are meshed.
Geometry Ckecks, 1D or 2D fractures
During the geometry checks, it is checked whether fractures intersect. This is currently not yet possible in terms of modelling.
Assign fracture attributes, 1D or 2D
A dialogue appears when these menu items are called upon:
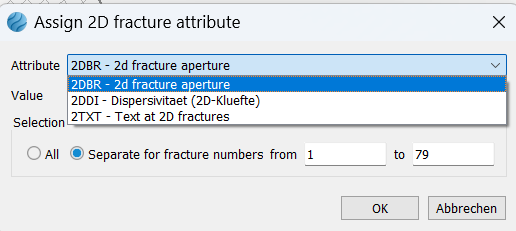
This can be used to assign attributes with values directly to the fractures. The following attributes are possible:
Opening width, fracture dispersivity and texts on fractures (1TXT or 2TXT, depending on the fracture dimension).
Delete 1D fractures
The 1D fractures can be deleted manually by pick, they can be deleted in one polygon or all at once or if they are on top of each other.
Delete 2D fractures
This menu item allows you to delete all fractures. It is also possible to delete 2D fractures selectively using either the edge length, the area or an assigned attribute in the dialogue. The following input window appears:
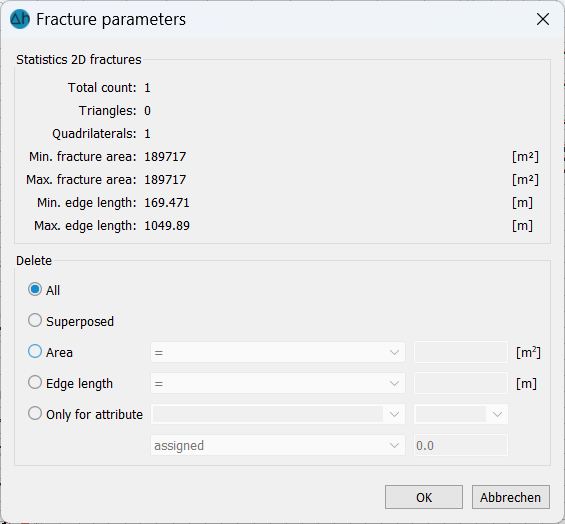
After confirming with OK, the status bar at the bottom of the screen shows how many fractures with the matching feature have been deleted.
Export fractures
A file selection window appears in which the export file for the Tecplot programme is specified.
Also possible is an export as structures (*.str) or as dxf-file.
Stand: 22.05.2026 | 