The layer menu can be selected in both model file mode and plot file mode. The following menu items are available:

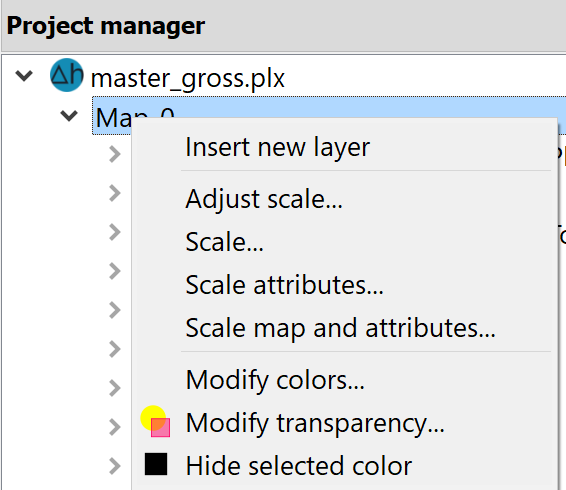
A new map layer is created in the project manager by activating the relevant map (e.g. Map_0) with the right mouse button.
Order
The following submenu appears:
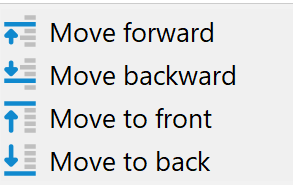
The Move forward or Move backward menu items change the display sequence so that the selected map layer is moved one position forwards or one position backwards in the display sequence of all layers on the map.
The Move to front menu item places the desired map layer at the front of the map, i.e. it is displayed last within the map and therefore overlays all other map layers on the map. The Move to back menu item moves the selected map layer to the backmost position on the map, i.e. it is displayed first on the map and is therefore superimposed on all other map layers on the map.
Changing the order of map layers is only possible within a map using this menu item, so that, for example, Forwards here only means to the foremost position of the map to which the map layer belongs and Backwards only to the rearmost position of the map. If the display sequence of two map layers in different maps is to be changed, this is only possible by shifting the map sequence or by reducing all maps to one map.
Activate 

Activate a map layer to select it as the target for new objects or modifications. Simply click on an existing object within that map layer, and any objects you create or alter under the Object  Draw menu will be associated with it.
Delete 

The map layer to be deleted is selected with the cursor. If there is only one map layer, it is deleted without prior selection.
Move 

The Move menu item allows you to move all objects of a map layer at once. The corresponding map layer is identified with the cursor via an object on the map layer and moved by holding down the left mouse button. The frame of the map layer is displayed on the screen for orientation.
If several maps are open (plot mode), the map layer in the layer list can be moved across maps via the project manager (drag & drop) and the scaling is automatically adjusted to the "target map" (the map layer is superimposed). The map from which a map layer is to be moved to another map must contain at least one other map layer. If necessary, a new empty map layer can simply be created in this map. The map layer can then be moved.
Modify colours 

The Modify colours menu item allows you to change individual colours, although this is limited to the selected map layer. If more than one map layer is loaded, the map layer for which the colours are to be modified must be selected using the cursor. An input window then appears in which the colours can be changed.
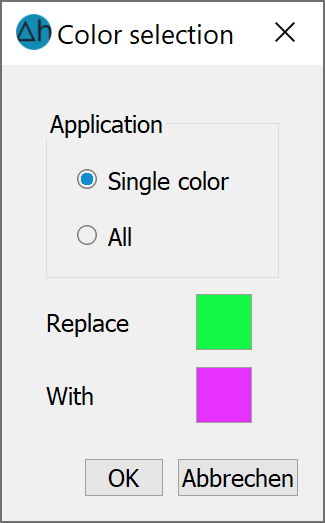
First decide whether the colour selection should apply to one object of the map layer or the entire map layer.
If the existing colour is to be changed, a colour pair appears after clicking on the "To" button, in which the desired colour can be selected.
Modify transparency
The transparency of a layer can be set between "invisible" (= 0, complete transparency) and "opaque" (= 255, no transparency) using this input window:
The transparency of a layer can be set differently for each layer in the project manager by right-clicking after selecting it. This setting is not saved in the plx file.
Optimize colour areas
In the case of an area plot, polygons filled with colour are initially created according to the discretisation of the elements. The Optimise colour… areas menu item is used to optimise map layers with many small adjacent polygons filled with the same colour, i.e. to reduce the number of polygons by combining them appropriately. Colour area optimisation has advantages both when saving the optimised files and when working with these files, as the effort required to set up the screen is considerably reduced!
If there is more than one map layer, the map layer to be optimised must be selected with the cursor. Then an input window will appear:
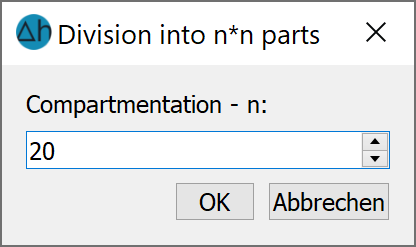
Before optimisation, the layer is divided into n sub-areas, into which the surfaces are first sorted. Each sub-area is then optimised separately, which provides a significant speed advantage. The following applies: The more sub-areas, the faster the optimisation runs.
Add tile server
An input window appears:
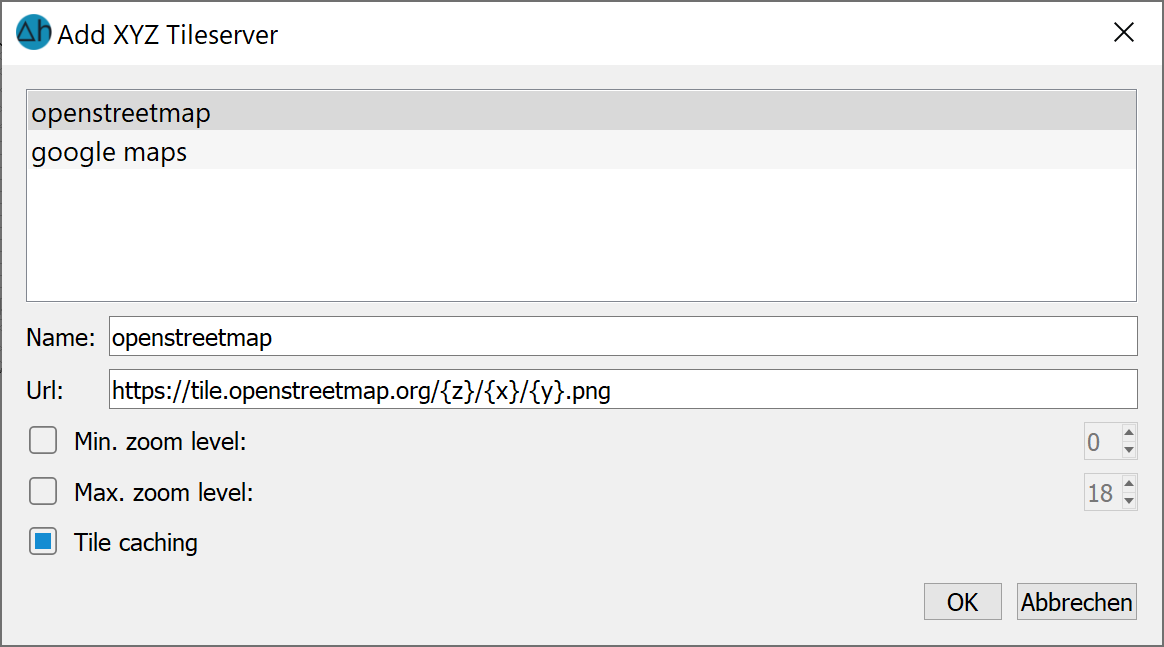
If a world coordinate system (Edit Project Set projection...) has been assigned to the model, it is possible to overlay map layers from the Internet at this point. In the first application, the corresponding URL for each desired overlay map are copied into the field and given a name. The minimum and maximum zoom level can be defined. By activating the Tile caching checkbox, a (hidden) subfolder .webcache is automatically created in the active project folder in which the loaded layers are saved. At this point, however, the provider's terms of use must be observed. For a project with several submodels, a folder can be defined in the file spring.opt via the variable SPRINGWebcachePath in which the .webcache for all submodels can be stored.
Once a map layer has been loaded, it can be edited in the project manager. After activating the layer with the right mouse button, the following menu appears:
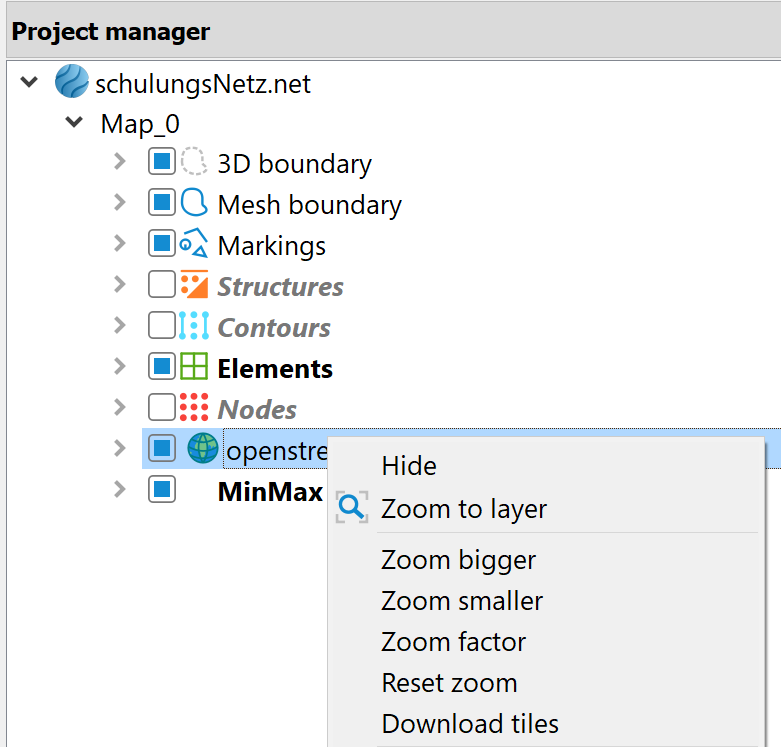
The menu items Zoom bigger or Zoom smaller change the font size in the map layer. When the Zoom factor is activated, the zoom level of the current view in the SPRING main window can be adjusted manually:
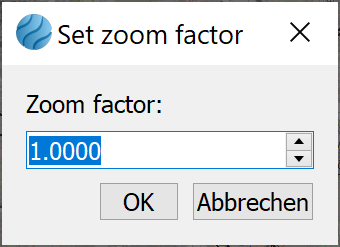
A factor of 0.5 enlarges the details, a factor of 2.0 zooms out. The Reset Zoom menu item returns to the previous view.Via the menu item Download tiles:
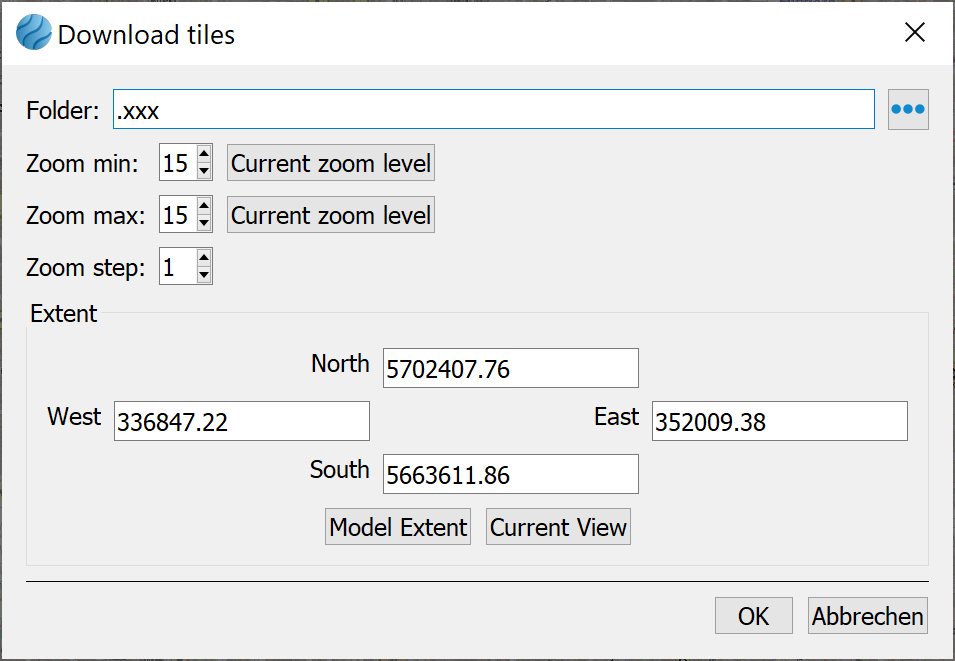
tiles temporarily stored in the .webcache folder can be saved locally for offline use. The desired zoom levels and tile extent (model extent or only the current view) can be specified. The associated *.png files are saved in the selected folder. They can then be used via the menu item Add Automatic Zoom Images in the layer menu (see below).
Add WMS layer
An input window appears:
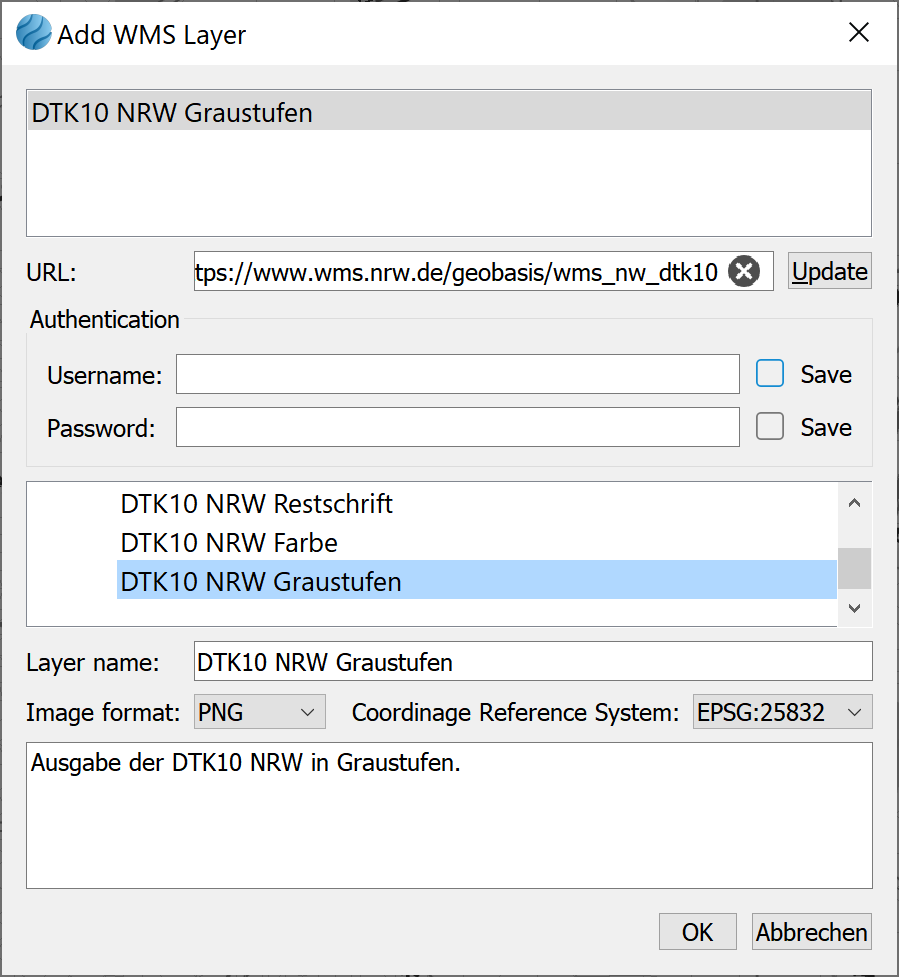
This menu item allows the integration of WMS services into the project. The corresponding links and access data must be entered in the dialog. Subsequently, the selected layers can be stored in the project.
Add Automatic Zoom Images
Via this menu item, the zoom images that were locally saved via the tile download (in the project manager) can be added to the model or plot.
Stand: 22.05.2026 | 