In this input window, the text field appearing at the bottom right of the plot can be defined if it is set in the plot options that a frame and a text box are plotted.
Selection of the text box type
There are three text field types to choose from:
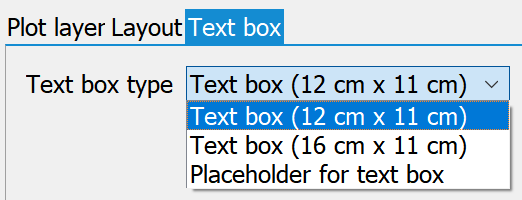
No further input is required for the text box type (12 cm x 11 cm). A predefined text box is displayed in the plot. If there is a labelling at the end of the model file under the TEXT attribute, this is adopted in the text box.
Example:
The model file states:
TEXT : Label in the text box
.50 3D Groundwater model
.5 SPRING 4.1
.5
.5 Lower Boundaries
.5 Hatching
.3 APPENDIX 2
The text field in the plot then looks like this:
For the text field type (16 cm x 11 cm), this text field can be customised by the user:
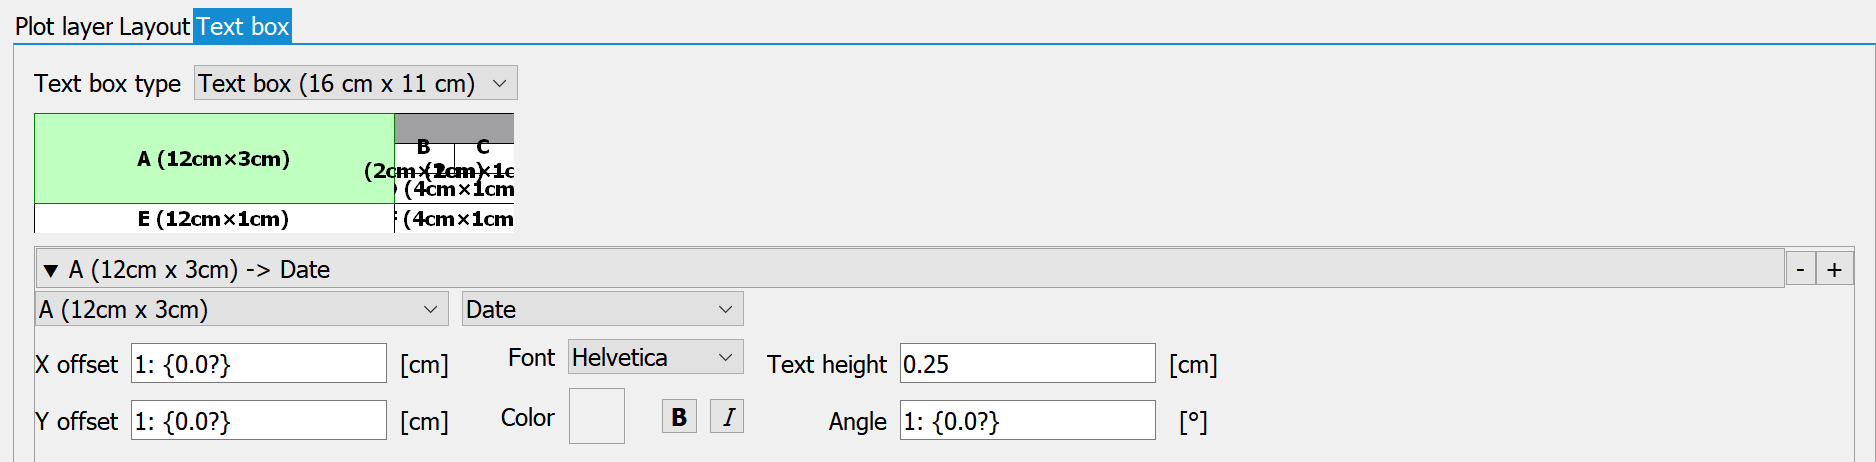
Firstly, press the + button to add an entry to edit. The field to be edited (A-F) is selected via the text field area:
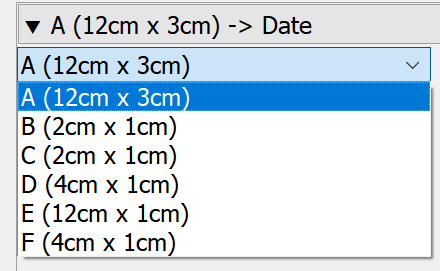
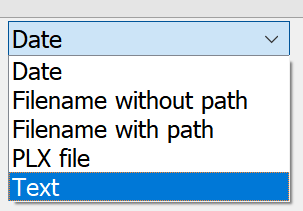
The type of labelling is then assigned to the area. Here you can choose::
The plus and minus buttons can be used to create or delete entries and thus edit all text field areas (A to F).
The font, text height, text style, angle, colour and offset for the lettering are defined in the lower input area. The origin for the offset is the bottom left-hand corner of the respective text field area (A to F). Depending on the data type selected, a text input field or a file selection area appears.
With the Text box type: Placeholder for text box, a placeholder for a (not yet created) text box is defined by entering the width and height. By specifying a width of 10 cm, for example, the distance between the coordinate frame of the display and the outer plot border is increased to 10 cm.
 Batch file for plot creation
Stand: 02.06.2025 | 